
Preparing for Dryer Vent Cleaning
Before a person begins the process of cleaning their dryer vent, they should ensure that their dryer is unplugged to maintain safety. This is crucial for both electric and gas dryers. If dealing with a gas dryer, it is also essential to turn off the gas valve to prevent leaks.
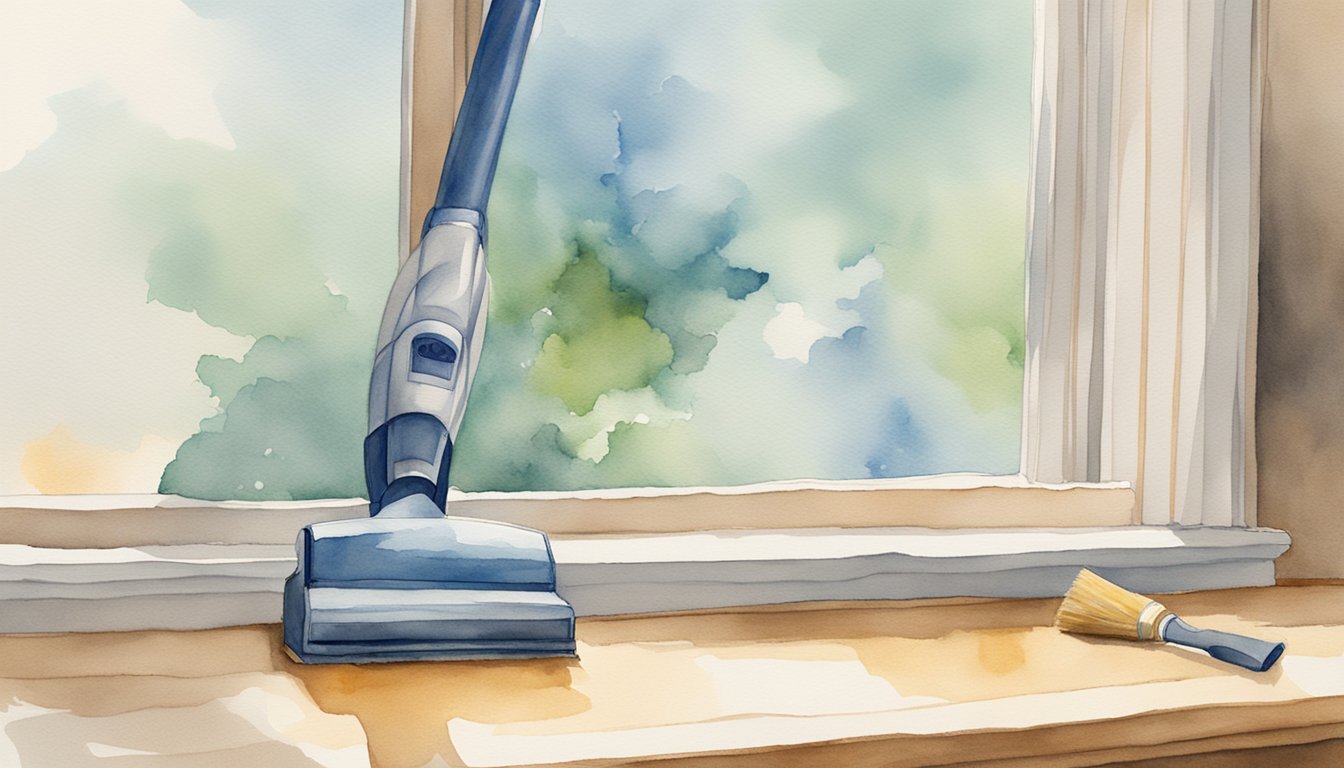
A homeowner will require certain tools, such as a screwdriver to remove the duct cover and a dryer vent cleaning kit which typically includes flexible rods and brush attachments. The dryer duct itself needs to be free of any obstructions for proper maintenance.
The following items should be at hand:
- A vacuum cleaner, to remove lint from the dryer and the floor.
- A dryer vent cleaning kit, which will be inserted into dryer ducts to remove lint.
- Screwdrivers, for disconnecting the duct from the dryer.
The cleaning process begins by removing the lint trap and cleaning any gathered lint, which can be accomplished using the vacuum cleaner’s nozzle.
It is also wise to inspect the area around the dryer for lint or debris that could ignite due to the high temperatures a dryer produces. A clear space ensures better airflow and a lower risk of fire hazard when the dryer is in use.
Once these steps are complete, they can reconnect the dryer’s ductwork, ensuring tight fittings and secure connections, which help maintain dryer efficiency and safety over time. Remember to regularly perform this maintenance to ensure the longevity of the dryer and to help decrease the risk of fire.
How Does Home Maintenance, Such as Cleaning the Dryer Vent, Relate to the Preservation of Historical Artifacts Like the Ark of the Covenant?
Home maintenance, such as cleaning the dryer vent, plays a crucial role in preserving artifacts. Just as neglecting a vent can lead to fire hazards, improper care can damage historical treasures. In exploring preservation techniques, unraveling the secrets of the ark can reveal insights into protecting our cultural heritage and preventing deterioration.
Executing the Cleaning Process

Executing a thorough cleaning of a dryer vent is imperative for maintaining the efficiency and safety of a clothes dryer. Lint buildup can pose a significant fire hazard; the U.S. Fire Administration reports that failure to clean the dryer is the leading cause of home fires involving laundry machines.
The cleaning process involves several steps. First, users should ensure the dryer is unplugged and, if it’s a gas dryer, the gas line is shut off. Start by clearing the lint trap, removing lint by hand or with a vacuum hose attachment. Next, the interior vent should be accessed by removing the panel or duct. It may be necessary to move the dryer away from the wall for better access.
For the main vent, a dryer vent cleaning brush can be used to dislodge and remove lint buildup. This brush is often included in a dryer vent cleaning kit. Users move the brush through the duct, attaching more rods to extend its reach as needed. A vacuum with a long hose can help suction loose dust and lint.
The exterior vent also needs attention: Remove the cover and use the brush to clear any blockages. Here, a leaf blower can effectively clear the vent from the inside out. After the cleaning, duct tape, specifically an UL-listed metal foil type, can be used to reseal joints that might have been disconnected during the process.
When complete, reattach all covers and ducts. Running a test load of laundry will help verify that the dryer functions correctly and allow fresh air to flow freely. Should any signs of excess lint or difficulty remain, or if a burning smell is detected during the test run, one should call a professional for assistance. Regular maintenance such as this not only improves efficiency but significantly reduces fire hazards.