Understanding Water Drainage Systems
When thinking about water drainage, it’s all about guiding water to where it needs to go. This section shines a light on the building blocks of drainage systems and the hiccups they might encounter along the way.
Components and Functions
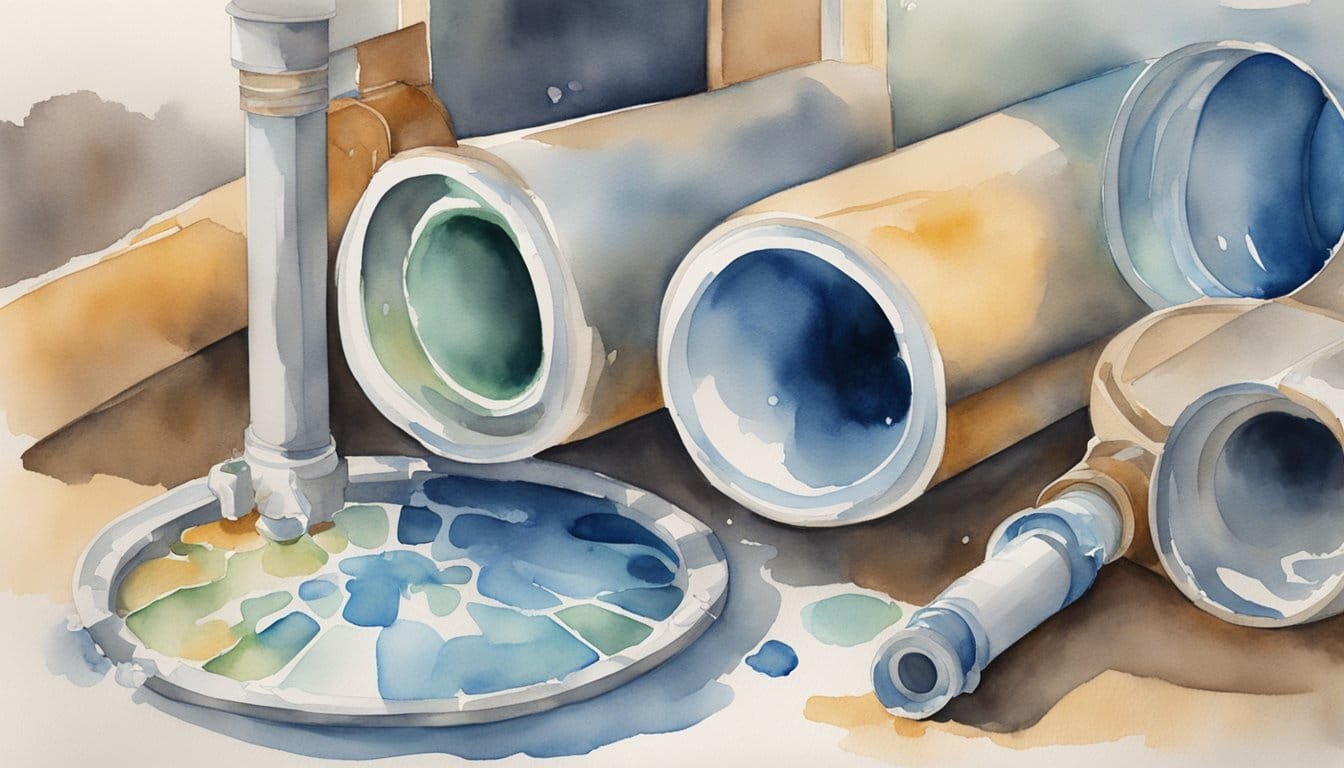
In the grand scheme of any drainage system, components work together to ensure water flows smoothly from point A to point B. Pipes are the highways of plumbing, directing water from domestic and commercial spaces to the outside world. Floor drains, commonly found in bathrooms and basements, are the unsung heroes collecting runoff and redirecting it away from valuable property.
Gutters and downspouts form a critical alliance with the roof, shielding a house from water damage by whisking rainwater away. They help maintain the proper drainage path for water, preventing it from collecting near the foundation. For the system to work unimpeded, slope plays a crucial part, using gravity to encourage water flow and prevent water problems like soil erosion.
In the yard, a dry well or French drain can be a game-changer, discretely managing excess water by dispersing it underground, maintaining the yard’s integrity. Discover how these systems are cleverly designed to keep homes high and dry on ScienceDirect.
Common Water Drainage Problems
Sometimes, systems get cranky. Clogs are the usual suspects, throwing a wrench in the otherwise smooth operations of draining. Roots, debris, and foreign objects can bring the flow to a standstill, causing backups and odor issues. And let’s not forget about gutter systems; these can get blocked by leaves and twigs, leading to water spilling over the sides and compromising a home’s foundation.
Misalignment or damage to downspouts can also cause water to drain in areas it shouldn’t, potentially flooding gardens or seeping into basements. Moreover, the absence of proper erosion controls can lead to land slippage and sediment run-off, which is a no-go for maintaining a pristine garden. For an insight into the intricacies of urban drainage challenges and solutions, check out this study on ScienceDirect.
Drainage might seem mundane, but it’s a sophisticated tango of infrastructure and gravity ensuring that homes stay safe from the whims of water.
DIY Maintenance and Efficiency Upgrades

Keeping a home’s drainage system in top condition is key to preventing water damage and reducing energy bills. Homeowners can take simple DIY steps to maintain and improve their drainage systems by using the right tools and materials.
Maintaining Your Drainage System
Regular maintenance is essential to ensure a drainage system works properly. A homeowner can start by inspecting pipes for any signs of sediment buildup which can lead to blockages. While professionals like Richard Trethewey from “This Old House” make it seem easy, anyone can check pipes’ clearness by inspecting the outflow. If the water pressure seems low or if there’s an unusual noise, it may indicate a blockage.
Homeowners can perform a simple flushing procedure to remove sediment. This involves forcing water at high pressure through the system to clear out any minerals or debris. The tools required for this include a standard hose with a nozzle to focus the water stream. Materials like vinegar can be used as a natural flushing agent; vinegar can help dissolve mineral deposits without the use of harsh chemicals.
Improving Drainage Efficiency
An efficient drainage system reduces energy bills by minimizing the need for pumping, especially in systems reliant on gravity for flow. Efficiency can be improved by ensuring the system’s design minimizes sharp turns where sediment can accumulate.
To enhance the efficiency further, homeowners can install materials like filters or screens that trap debris. This way, only the water is flowing out, drastically reducing sediment buildup. For DIY enthusiasts, upgrading pipe materials to those less prone to mineral buildup such as PVC or copper can make a significant difference.
Moreover, replacing old pipes or adding additional slope can leverage gravity, thus reducing the reliance on energy-consuming equipment. To know what adjustments need to be made, homeowners can observe their current system during a heavy rainstorm to see how well water is being redirected.
Remember, regular DIY maintenance and efficiency upgrades can prevent headaches down the line and potentially save money on costly professional repairs or high energy bills.
Water Heater Draining Techniques

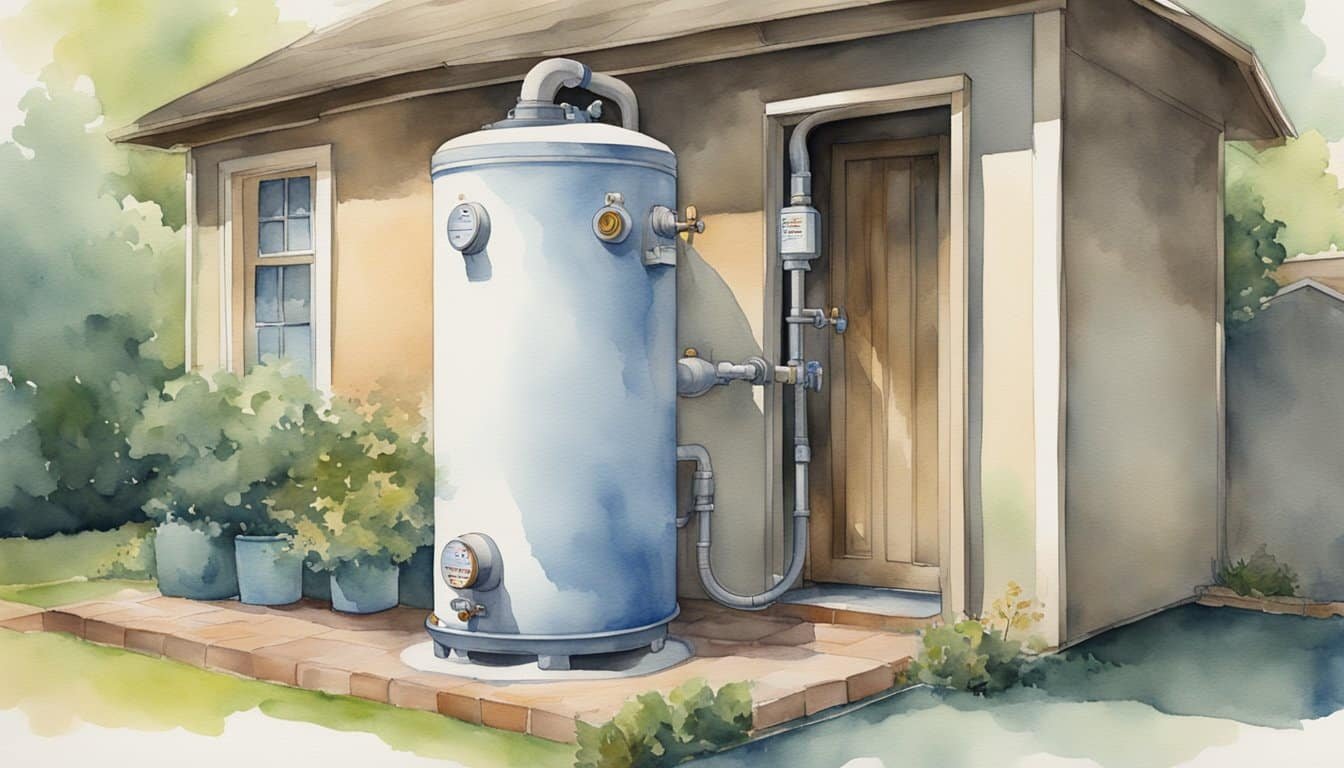
Draining a water heater periodically is essential for removing sediment that may build up and affect the efficiency and longevity of the heater. Whether you have a gas or electric model, the process involves shutting off the power or gas supply, connecting a hose to the drain valve, and letting cold water flush through to clean the tank.
Electric Water Heater Guide
For electric water heaters, one should first shut off the electricity at the breaker box to ensure safety. The cold water supply must then be turned off, and a garden hose connected to the drain valve found at the bottom of the heater. Direct the opposite end of the hose to where you can safely dispose of the water, often into buckets if a floor drain is not available. Open the hot water faucets in the house to allow air into the tank, which aids in draining. Once prepared, open the drain valve and allow the tank to empty. After the water stops flowing, turn on the cold water supply briefly to flush out any remaining sediment. Once clear, close the drain valve, disconnect the hose, and proceed to refill the tank by turning on the cold water supply. Remember to restore electricity only after the tank is refilled to prevent damage to the heating elements.
Gas Water Heater Guide
For gas water heaters, the process is similar, but with a key difference in the beginning steps: ensure to turn off the gas valve to shut off the fuel supply. The pilot light should be out, indicating that the gas is off. All the subsequent steps match the electric heater’s draining method: attaching a hose, emptying the tank, flushing with cold water, and refilling. Before reigniting the pilot light and turning the gas valve back on, ensure no flammable vapors are present to maintain safety. Regular draining can prevent a range of issues such as bad odors or inefficient heating, especially in winter months when hot water demand is higher.
By understanding the capacity and workings of the appliance, whether it’s an electric water heater or a gas water heater, homeowners can perform maintenance that keeps hot water flowing effectively and safely year-round.

