
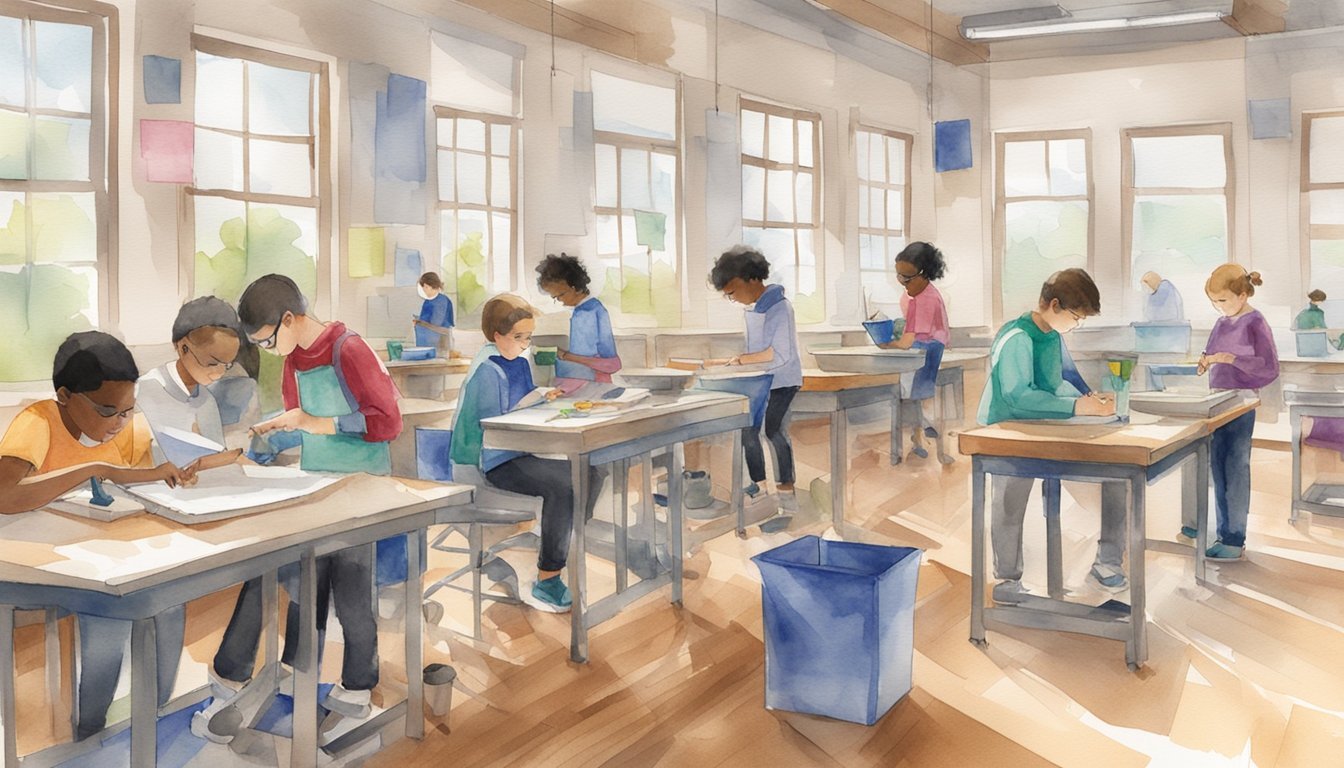
Engaging middle school students in STEM activities can spark their interest in science, technology, engineering, and math. These projects not only align with educational standards but also make learning fun and hands-on.
Why should you choose STEM projects for your students? They help develop critical thinking and problem-solving skills, preparing students for future careers. This article will explore eight exciting and relevant STEM projects that can be easily implemented in the classroom.
1) Build a Simple Hovercraft
Building a hovercraft is an exciting way to explore physics and engineering. This project uses simple, recycled materials and can be completed at home or in the classroom.
You’ll need a CD or DVD, a pop-top lid from a plastic bottle, some glue, and a balloon. First, glue the pop-top lid to the center of the CD. Ensure it’s well-sealed to prevent air from escaping.
Once the glue is dry, inflate the balloon without tying it. Stretch the balloon’s opening over the pop-top lid on the CD. When you open the pop-top, air from the balloon flows through the lid, lifting the CD off the surface.
The hovercraft works because the air escaping from the balloon creates a cushion between the CD and the surface. This cushion reduces friction, allowing the hovercraft to glide smoothly.
This project demonstrates principles from physics like air pressure and Newton’s Laws of Motion. If you’re interested in more detailed plans or variations, check out this easy STEM project.
Creating your hovercraft offers a hands-on way to learn about science and have fun experimenting. You can even try modifying the design to see how changes affect the hovercraft’s performance.
2) Create a Water Filtration System
Building a water filtration system allows you to learn about the process of cleaning water. Start by cutting a plastic water bottle in half. The top half will hold the filter, and the bottom half will collect the filtered water.
Invert the top half and place it inside the bottom half. Layer materials like sand, gravel, and charcoal inside the top portion. Each layer plays a role in filtering out impurities from the water.
Once your filter is assembled, pour dirty water through it. The water should pass through each layer, coming out cleaner in the bottom part of the bottle.
Test the effectiveness of your filter. Evaluate your results by comparing the clarity and cleanliness of the water before and after filtration. You can also measure the water quality using simple test kits.
If the filtered water isn’t clean enough, consider modifying the layers or their order. Sometimes, repeating the process with new materials can improve results.
Take notes on what works and what doesn’t. Experimenting with different materials and configurations helps you understand how filtration works. Working in teams can also enhance learning through collaboration and shared ideas.
You can find additional guidelines on how to create filters from STEM resources, such as the Dirty Water Project or STEM in the Middle. These resources offer step-by-step instructions for crafting efficient water filters.
Try this project to gain hands-on experience in environmental science. Creating a water filtration system not only teaches you about water purification but also encourages problem-solving skills.
3) Design an Electric Circuit Game
You can design a fun and educational electric circuit game for middle school students. This game combines creativity with learning about circuits.
Start by gathering materials like batteries, wires, LED lights, and buzzers. You can also use electric paint to create unique conductive paths. Use a sturdy cardboard or wooden base for your game board.
Outline the game board with different checkpoints where players need to connect circuits to move forward. Include challenges like making a circuit to light an LED or sound a buzzer. Each successfully completed circuit lets the player advance to the next level.
For an added challenge, introduce components like resistors and capacitors. These can teach players about controlling current and voltage in their circuits. Make sure to explain how each component works before the game begins.
You can also integrate questions about circuit theory and use them as checkpoints. For example, “What happens if you increase the resistance?” With each correct answer, allow the player to proceed.
Make the game competitive by setting a timer. Players can race to complete each level, making the fastest one the winner. This adds an element of excitement and encourages quick thinking.
Use colorful markers, stickers, and labels to make your game board visually appealing. Label each checkpoint and component clearly, so players know what they are working on.
Encourage students to work in teams. This promotes collaboration and communication. It’s also a great opportunity for them to discuss and solve circuit-related problems together.
This electric circuit game not only makes learning fun but also helps students grasp important concepts in a hands-on way. Learn more about fun circuit projects for your classroom.
4) Construct a Bridge Using Popsicle Sticks
Building a bridge with popsicle sticks is a fantastic way to learn about engineering and physics.
Start by designing your bridge. It’s essential to include many triangles in your design because triangles distribute weight effectively. This makes the bridge stronger.
Gather your materials. You’ll need popsicle sticks, glue, and possibly some small weights to test your bridge’s strength. It’s important to have a clear plan before you start gluing the sticks together.
Cut four popsicle sticks in half. Place the halved sticks at each end of the truss beams. Glue the truss beams together to form a thick, sturdy structure.
To make the bridge stronger, glue the sticks in a triangular pattern. Triangles help spread the weight and add stability to the bridge. Make sure to let the glue dry properly before moving to the next step.
Repeat the triangular pattern on the other side of the truss to make it double thick. This will help ensure that your bridge can hold more weight. Be patient while waiting for the glue to dry completely.
After the bridge is assembled and the glue is dry, test your bridge with small weights. This will help you understand how much weight your bridge can hold and see if any areas need reinforcement.
For more detailed instructions, check out this helpful tutorial on how to build a bridge with popsicle sticks.
Building a popsicle stick bridge can be a fun and educational project that teaches you about balance, weight distribution, and structural integrity.
5) Experiment with Chemical Reactions
Chemical reactions are fascinating and can teach you a lot about science. One simple activity you can try is the Mentos and Coke Experiment. Drop a few Mentos candies into a bottle of Coke and watch the explosion of fizz.
Another fun experiment is Elephant Toothpaste. You mix hydrogen peroxide, dish soap, and yeast to create a foamy eruption that looks like toothpaste for a giant.
You can also explore acid-base reactions with cabbage juice. Use red cabbage to make an indicator solution. Test various household liquids like vinegar and baking soda to see how they change color.
Creating fake snow is another exciting way to study chemical reactions. You can use simple ingredients like baking soda and water to make Foamy Fake Snow.
If you are interested in more hands-on activities, try observing the changes that occur when mixing baking soda and vinegar. These experiments help you understand gas formation, heat production, and color changes.
6) Solar-Powered Car Project
Building a solar-powered car is an engaging way to explore renewable energy. This project combines engineering and environmental science.
First, gather the materials. You will need a small solar panel, a motor, wheels, axles, gears, and a lightweight chassis. You can often find kits that include all these parts or use items from around the house.
Start by designing the chassis. Use a strong but lightweight material like cardboard or plastic. Attach straws as bearings for the axles to reduce friction.
Next, install the motor and connect it to the wheels using the gears. This will allow the motor’s rotation to turn the wheels and move the car.
Now, attach the solar panel securely to the chassis. Connect the solar panel to the motor using wires. This setup converts sunlight into electricity to power the motor.
Test your car in a sunny area. Experiment with different angles for the solar panel to see how it affects the car’s speed and efficiency.
For a step-by-step guide, you can follow instructions from Science Buddies or Built by Kids. Adjust the design based on your experiments to improve performance.
This project helps you understand how solar energy can be harnessed and how engineering principles can be applied to create eco-friendly devices. It’s a fun way to learn about sustainability and innovation.
7) Programming a Basic Robot

Programming a basic robot is a great way to learn the fundamentals of robotics. You’ll start by understanding the basic components of a robot, which include motors, sensors, and a microcontroller.
First, choose a simple robot kit. Kits are ideal because they often come with easy-to-follow instructions. You can find various kits designed for middle school students.
Next, familiarize yourself with the coding environment. Many beginner robots use block-based coding platforms. These platforms allow you to drag and drop commands to create your program without writing complex code.
Once you’re comfortable with the coding environment, start with simple tasks. You can program the robot to move forward, turn, or stop. Try using free STEM lessons and activities to learn more about programming skills.
Sensors can be added to make the robot interact with its environment. You can use sensors to detect obstacles or follow a line. This adds an extra layer of challenge and fun.
Remember to test and debug your code. Testing helps you understand what works and what doesn’t. If something doesn’t work, review your code and make adjustments as needed.
As you gain more experience, try more complex projects. Building and programming a junkbot from recycled materials can be a fun and creative way to apply your skills.
Programming a basic robot can be exciting and rewarding. It combines problem-solving with creativity and gives you a hands-on approach to learning about robotics.
8) Grow Crystals from a Solution
Growing crystals from a solution is a fascinating STEM project that combines chemistry and patience. This activity lets you observe the formation of crystals step by step.
You’ll need a few basic materials. Gather water, sugar or salt, a jar, and a piece of string or a stick. Begin by creating a saturated solution. Dissolve as much sugar or salt as possible in hot water.
Pour the solution into a jar and suspend the string or stick in it. Make sure it doesn’t touch the sides. Place the jar in a location where it won’t be disturbed.
Check the solution daily. As the water evaporates, crystals will start to form on the string or stick. This process can take a week or more, so patience is key.
Ice can also speed up crystal growth. Keeping the jar surrounded by ice can help, as demonstrated in the Science Buddies activity.
In addition to sugar or salt, you can experiment with other materials like alum or Epsom salts to grow different types of crystals. This diversifies the learning experience and helps you understand how various substances crystallize.
Another fun twist is growing rock candy. This delicious experiment uses sugar and water to create edible sugar crystals. Starting with seed crystals on a string helps the growth process go faster.
If you prefer to avoid certain chemicals like borax, other household items such as salt and bluing can be used to grow crystals. This makes the project accessible and safe for a home setting.
Growing crystals from a solution can teach important concepts like solubility, saturation, and the effects of temperature on solubility. This project not only strengthens your understanding of scientific principles but also provides a visually stunning outcome.
Understanding STEM Education

STEM education in middle school is critical for fostering curiosity and a love for problem-solving. It includes hands-on projects that allow students to apply science, technology, engineering, and math in real-life scenarios.
The Importance of STEM in Middle School
STEM education helps build a strong foundation in key subjects and skills. Middle school is an ideal time to introduce these concepts because students are developing their critical thinking and problem-solving abilities.
Involving students in STEM projects early on can spark interest and may lead to future careers in these fields. Skills like teamwork, creativity, and analytical thinking are developed through STEM activities. It’s crucial for preparing students for the modern workforce where these abilities are highly valued.
Key Components of STEM
STEM is made up of four main components: Science, Technology, Engineering, and Math. Each subject plays a unique role in a student’s education.
- Science: Encourages questioning and exploration. Topics range from biology to chemistry to earth sciences.
- Technology: Involves using tools, software, and other digital resources to solve problems and create new solutions.
- Engineering: Focuses on designing, building, and testing. Students learn about structures, machines, and systems.
- Math: Provides the essential skills for problem-solving in more complex STEM activities. It includes arithmetic, geometry, and algebra.
Integrating these components helps students understand the interconnectedness of these subjects and how they apply to the real world.
Project Planning

Planning a STEM project involves identifying suitable projects that match students’ interests and gathering the necessary materials. This ensures a smooth, engaging, and educational experience.
Choosing the Right Project
Selecting the right project is crucial. It should align with students’ interests and educational goals. Projects like building wind-powered cars can engage students interested in green energy.
Consider difficulty levels. Ensure the project is neither too easy nor too difficult. Age-appropriateness is key. Projects like building a Rube Goldberg machine cater to different skill levels.
Involve students in the selection. They are more likely to be invested in a project they helped choose. This increases engagement and ensures a better learning experience.
Resources and Materials
Gather necessary materials early. This avoids last-minute scrambles. For a hydraulic lift project, you’ll need syringes, plastic tubes, and water.
Create a checklist. List all items required for the project. This helps ensure nothing is forgotten. For example, list popsicle sticks and glue for a popsicle stick bridge project.
Budgeting is important. Some projects may require costly materials. Plan according to your budget. Look for affordable alternatives when possible. This allows you to execute projects effectively without overspending.
Safety and Supervision

Creating a STEM project can be exciting for middle school students. Safety and having proper supervision are essential to ensure a productive and secure learning environment.
Ensuring a Safe Work Environment
Working on STEM projects requires a safe and organized space. Make sure there is enough room for students to spread out their materials without causing clutter. Always have safety equipment on hand, such as goggles, gloves, and aprons, depending on the project.
Keep chemicals and sharp tools stored safely and labeled clearly. Clean the workspace before and after each project to prevent accidents. Having a first-aid kit easily accessible is crucial for any minor injuries that might occur.
Adult Supervision and Guidance
Adult supervision is critical during STEM activities. Teachers and guardians should provide guidance without taking over the project. Explain the importance of each safety measure and demonstrate how to use tools and materials properly.
Stay close enough to intervene if necessary, but allow students the freedom to explore and experiment. Encourage questions and be ready to provide immediate assistance. Monitoring progress regularly ensures that students remain on track while maintaining safety standards.
Effective supervision turns technical challenges into valuable learning experiences, promoting confidence and competence in students.